I have an interest in getting a 32-bit Windows XP machine up and running. I have a really good yet slightly dated and discarded computer that seemed like a good candidate for dedicating to this task. So the question is: Can Windows XP still be installed from scratch on a computer, activated, and used in 2016? I wasn’t quite sure since I have heard stories about how Microsoft has formally ended support for Windows XP as of the first half of 2014 and I wasn’t entirely sure what that meant.
Spoiler: It’s still possible to install and activate Windows XP as of the writing of this post. It’s also possible to download and install all the updates published up until support ended.
The Candidate Computer
This computer was assembled either in late 2008 or early 2009. It was a beast at the time.
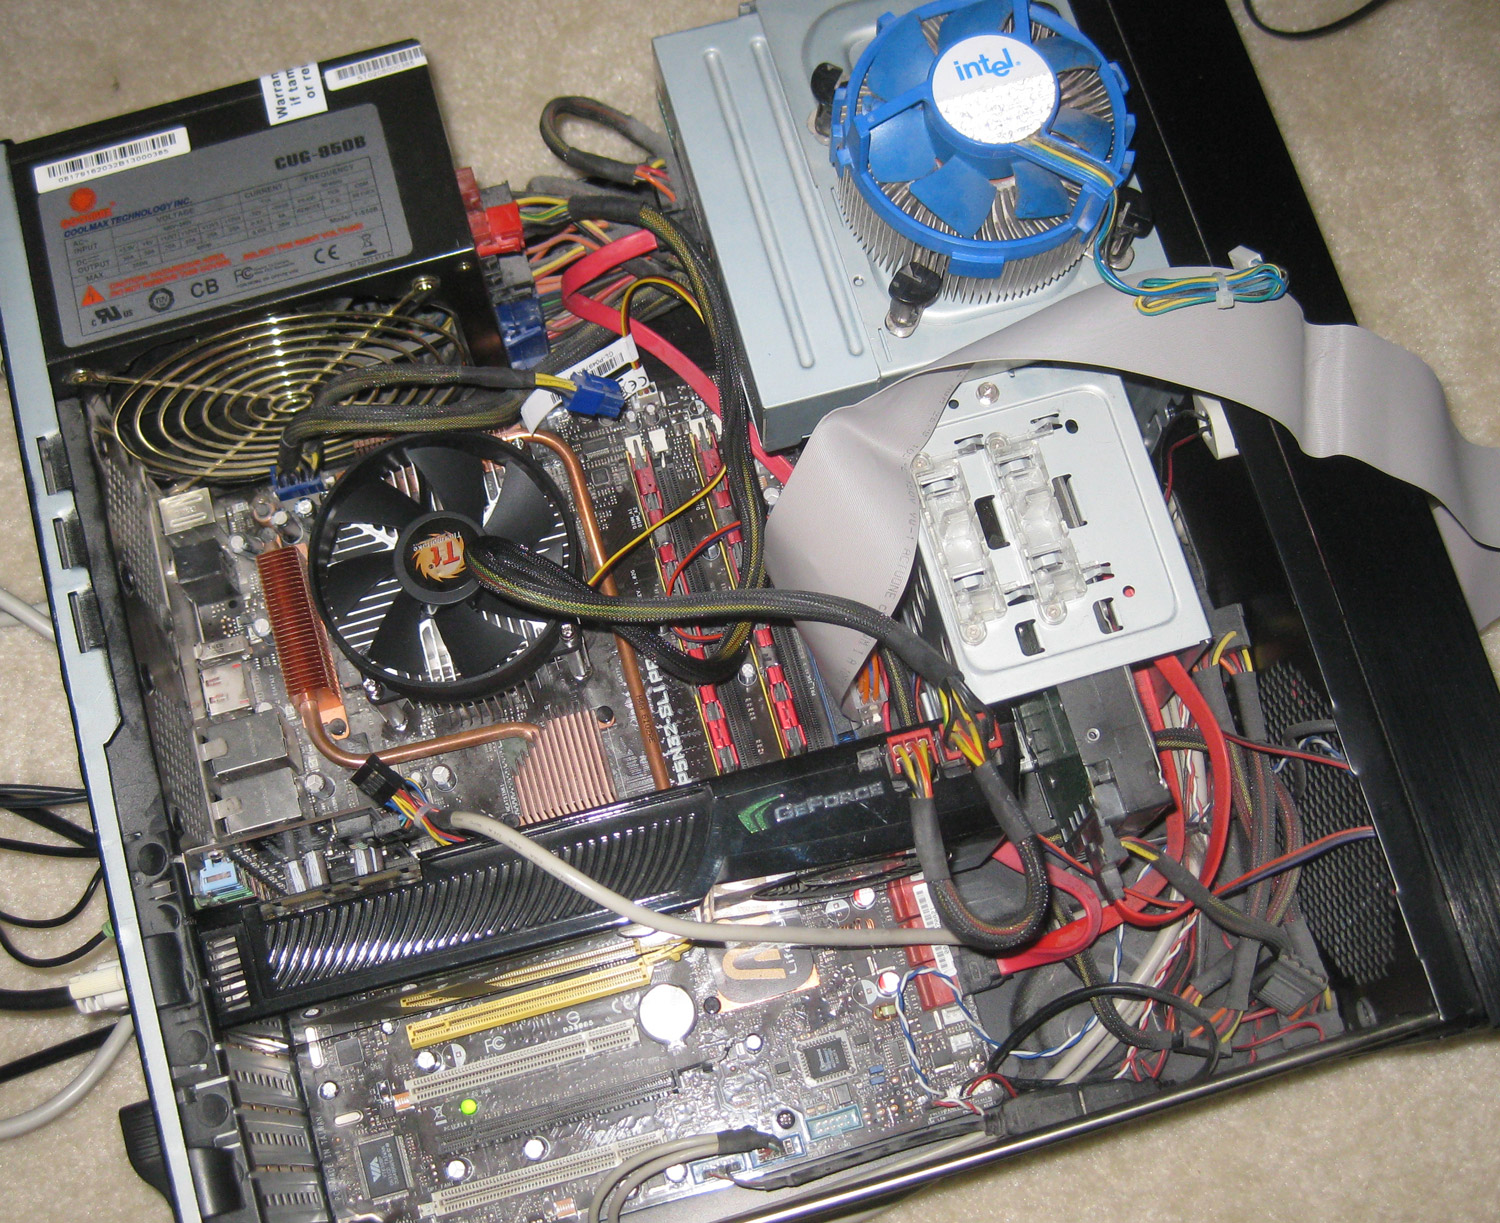
Click for a larger image
It was built around the newly-released NVIDIA GTX 280 video card. The case is a Thermaltake DH-101, which is a home theater PC thing. The motherboard is an Asus P5N32-SLI Premium with a Core 2 Duo X6800 2.93 GHz CPU on board. 2 GB of RAM and a 1.5 TB hard drive are also present.
The original owner handed it off to me because their family didn’t have much use for it anymore (too many other machines in the house). Plus it was really, obnoxiously loud. The noisy culprit was the stock blue fan that came packaged with the Intel processor (seen in the photo) whining at around 65 dB. I replaced the fan and brought the noise level way down.
As for connectivity, the motherboard has dual gigabit NICs (of 2 different chipsets for some reason) and onboard wireless 802.11g. I couldn’t make the latter work and this project was taking place a significant distance from my wired network. Instead, I connected a USB 802.11ac dongle and antenna which is advertised to work in both Windows XP and Linux. It works great under Windows XP. Meanwhile, making the adapter work under Linux provided a retro-computing adventure in which I had to modify C code to make the driver work.
So, score 1 for Windows XP over Linux here.
The Simple Joy of Retro-computing
One thing you have to watch out for when you get into retro-computing is fighting the urge to rant about the good old days of computing. Most long-time computer users have a good understanding of the frustration that computers keep getting faster by orders of magnitude and yet using them somehow feels slower and slower over successive software generations.
Continue reading
